Searching ...
Space
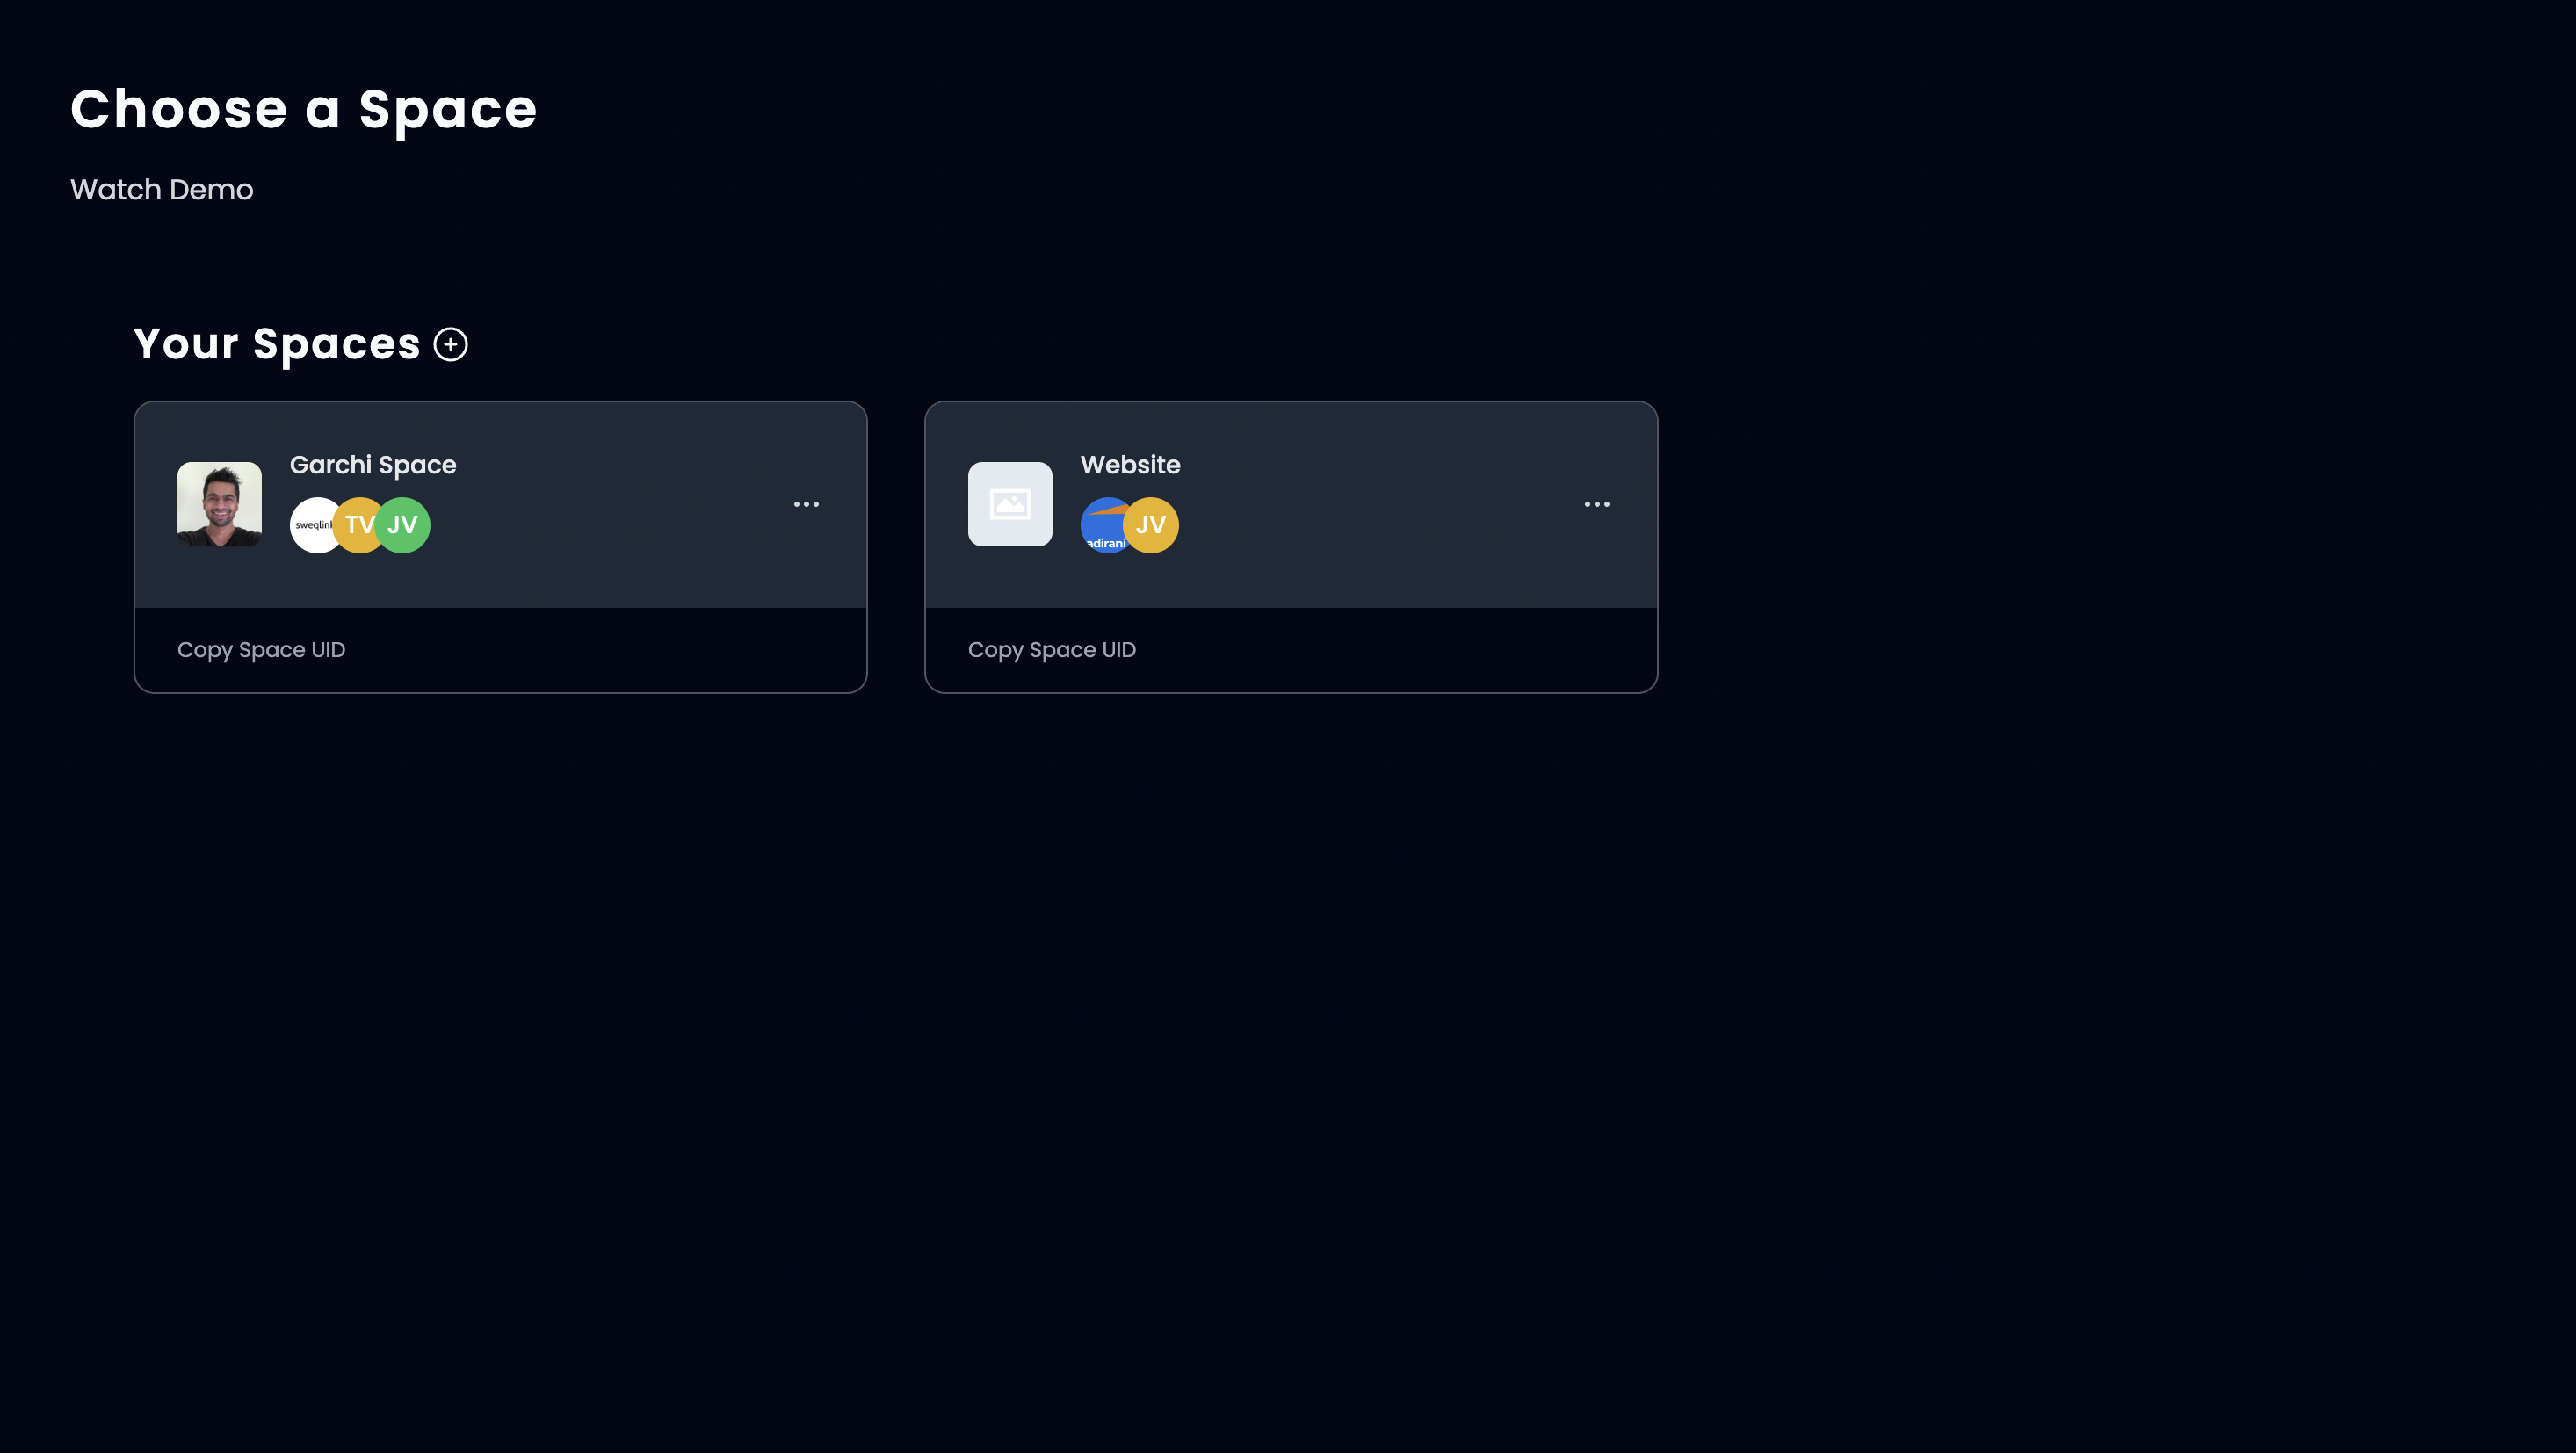
Space allow you to organize your Garchi CMS data into separate work areas.
When you first sign up, a default space is created for you. You can then add more spaces as needed.
Creating a space
- Click on Plus Icon (+)
- Enter the name
- Click "Save"
You can also upload an image for a space if you wish.
Editing a space
You can also edit the space name by clicking on three dots in the space card.
- Click "Edit"
- Make your changes
- Click "Save"
Adding a collaborator or team member
You can also add collaborators/team members to your space.
- Click on Space Name --> then Manage Team in the sidebar
- Click on Invite Member
- Enter your team member email and click on PaperPlane Icon.
Once your team member accepts the invite their name should appear in the member list.
Collaborating on a space
If you are invited to a space, all your collaborated spaces will appear below your own in the spaces list.
Switching a space
If you have multiple spaces you can switch between them.
- Click on Manage Spaces in sidebar
- Select a space by clicking on it.
Space UID
When using APIs you might need to pass the space uid. You can copy the space uid by clicking on the button in the space card.
Delete a space
- Click the 3 dot menu on the space
- Click "Edit"
- Click "Delete"
As a safety measure, you will be prompted to enter your password.
Leave a space
- Click the 3 dot menu
- Click "Leave space"